
Using earSHIELD 2
earSHIELD 2
Attach and adjust earSHIELD 2 on your helmet
Video instructions and the key steps for attachment to the helmet strap, correct position and individual profile adjustment.

Video: attach, adjust and care for earSHIELD 2
The video shows how earSHIELD 2 is attached to the helmet strap, positioned correctly and individually adjusted to the shape of the ear. It also explains the most important care notes for the sheep wool outer material.
Installation in three steps

1. Place it onto the strap
Slide earSHIELD 2 onto the helmet strap from behind so that the strap runs under the white hook-and-loop layer and this layer faces outward.
2. Fold over to secure
Fold earSHIELD 2 outward and close the hook-and-loop fastener under light tension. This helps prevent unwanted slipping.
3. Adjust the position
Slide earSHIELD 2 to the correct height. It should sit in front of the ear canal and below the glasses arm.
Individual profile adjustment
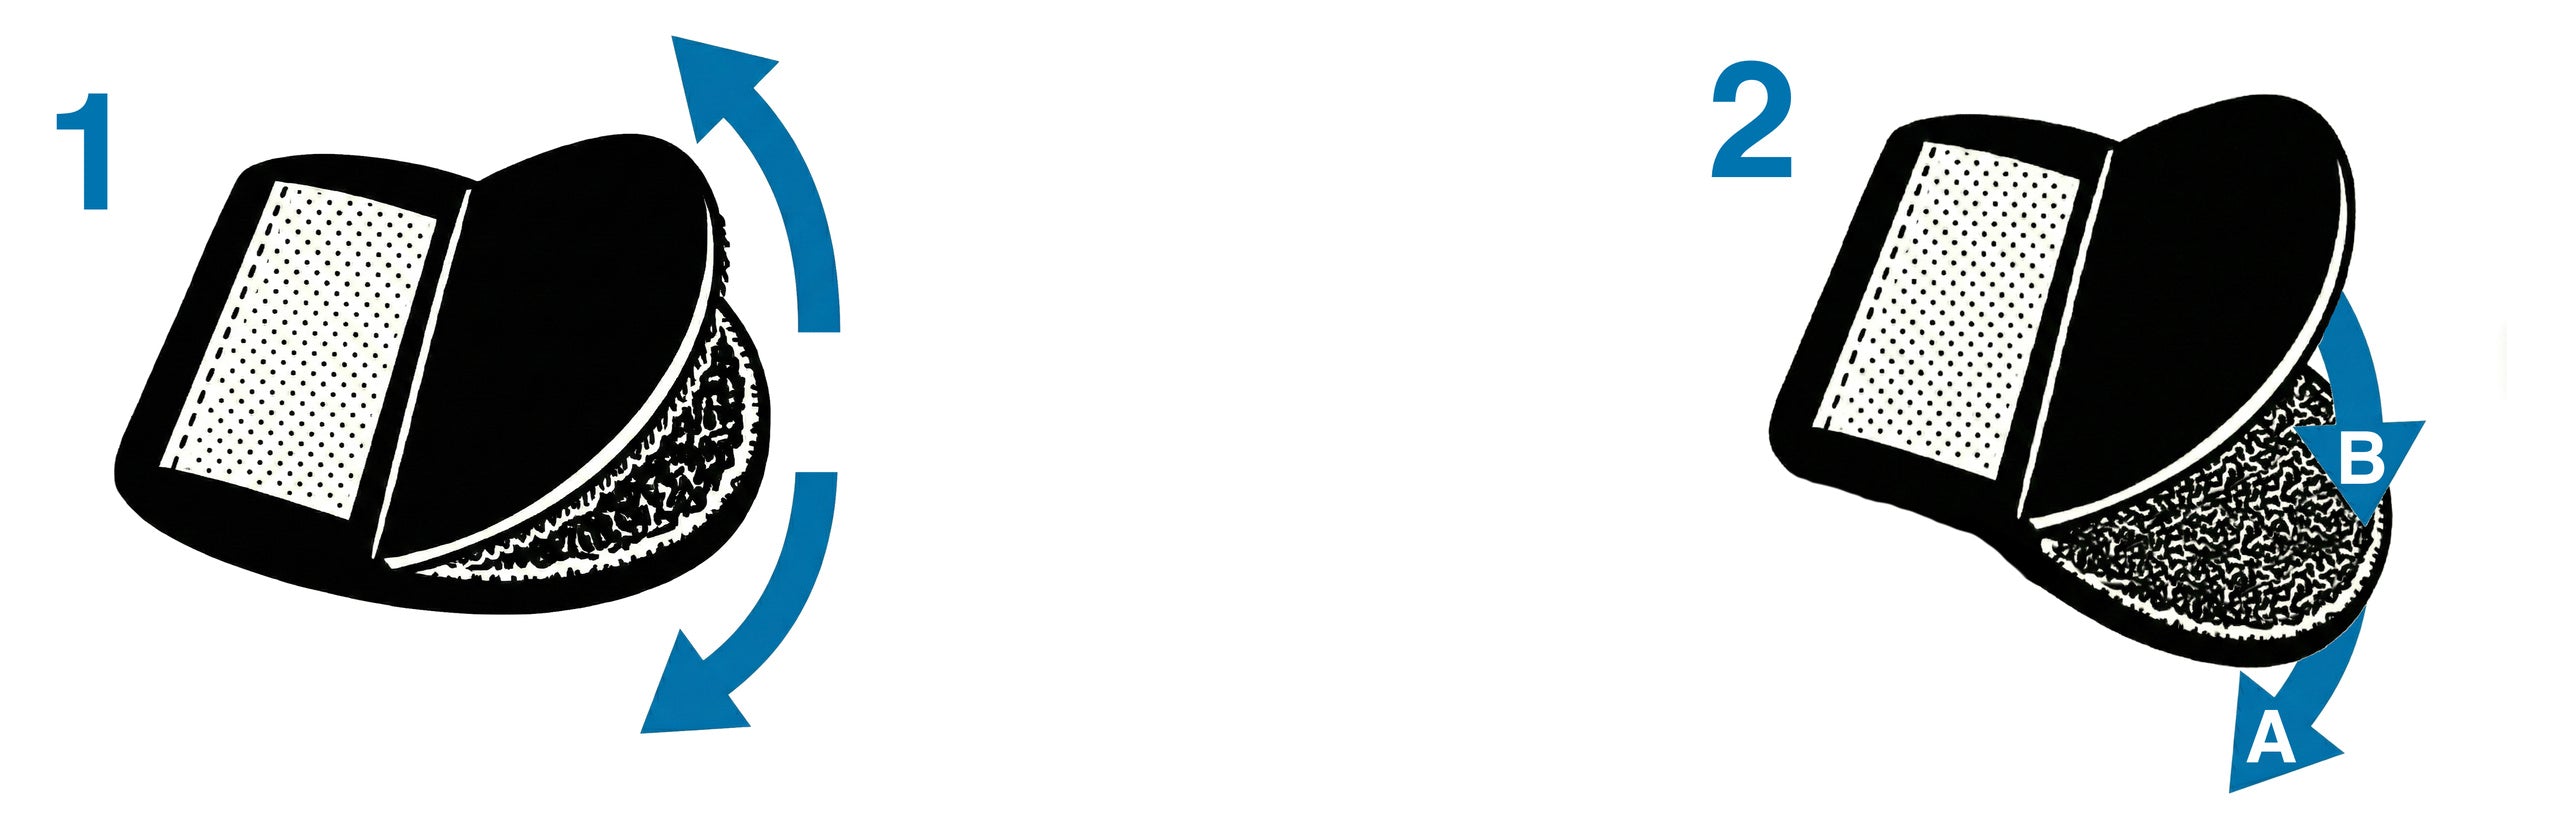
1. Loosen the hook-and-loop layer
Carefully loosen the black, D-shaped hook-and-loop layer on the inside at the rounded rear edge. Only loosen the hook-and-loop connection, not the adhesive bond to the wool.
2. Shape the profile
Shape the outer layer as desired and reconnect the hook-and-loop layer. This keeps the adjusted profile in place.
3. Check the fit
The ear must not be fully covered. Traffic and warning signals must remain audible.
Care notes
Loose fibers: Loose wool fibers can be felted again by rubbing in circular motions or trimmed off. Voluminous wool supports the reduction of wind noise.
Washing: earSHIELD 2 can be washed by hand.
Safety and use
- Replace if visible damage is present or after a crash.
- The ear must not be fully covered. Traffic and warning signals must remain audible.
- Before every ride, check that earSHIELD 2 sits securely.